Sometimes it’s hard to fully appreciate a dramatic before-and-after transformation without seeing the “before” in person. Photographs can be very forgiving and I often tell people that a “before” picture of a room might look decent, but TRUST ME, in real life it was looked way worse.
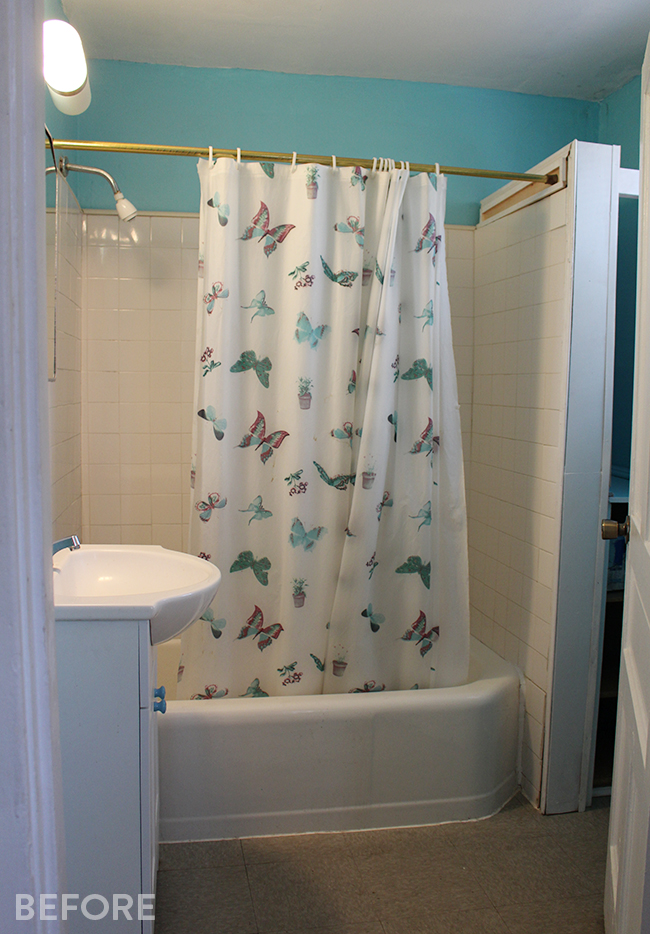
This is not one of those situations because for once, even in these small photos the room’s grossness really translates. Hooray! Behold, my downstairs full bathroom:
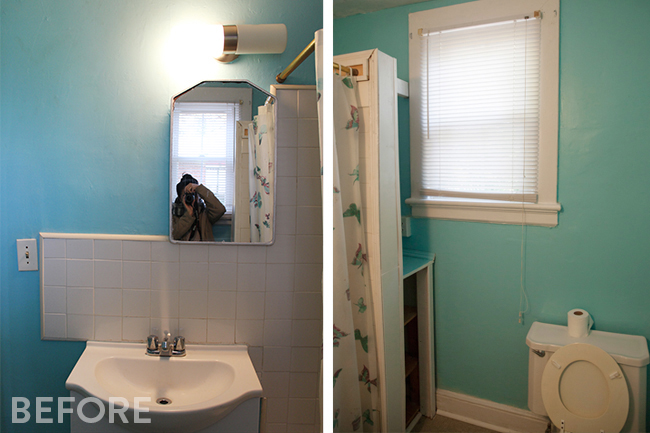
Can we just note how ridiculously off-center this cabinet and sconce are? I’m sure this was because the medicine cabinet was mounted between studs, but I’m still surprised that whoever installed this felt that this was the best possible option.
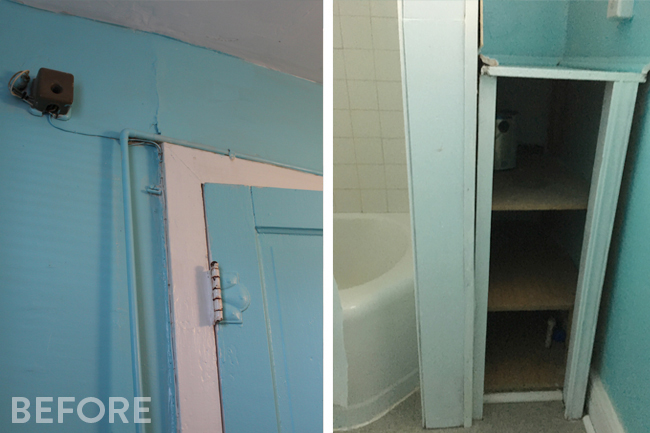
I have no idea what this wall-mounted box is. I ripped so many mystery cords and wires off the house. And let’s not forget the saddest little corner of the house — this janky divider wall and adjacent cubby made entirely of scrap wood.
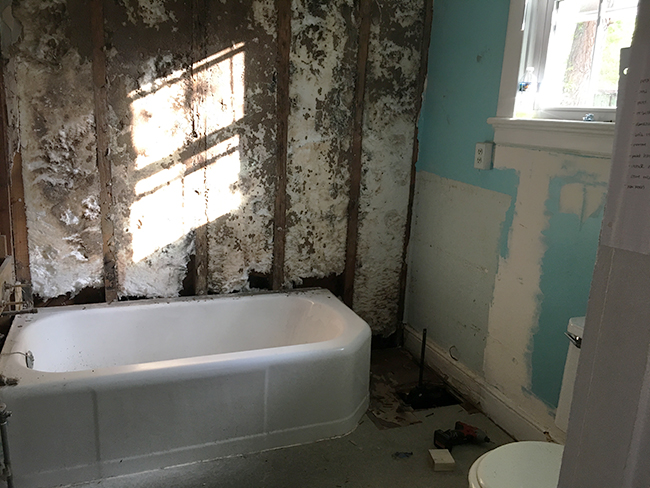
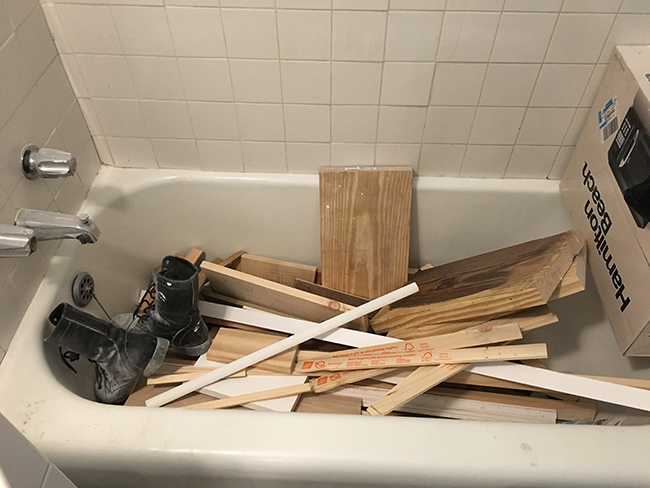 pin it!Side note/pro tip: bathtubs make the best scrap wood bins :)
  pin it!
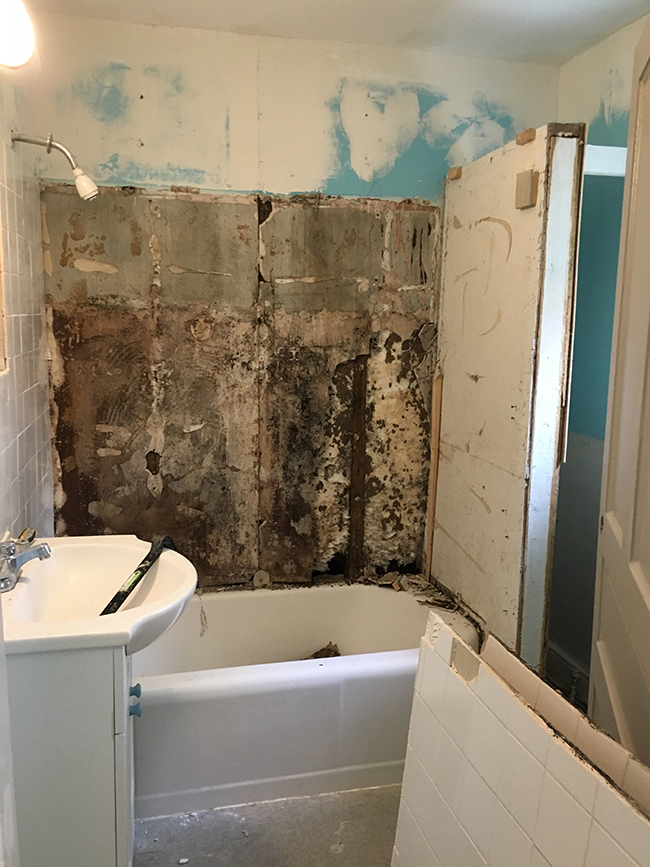
The walls in this room were so spongey and soft from moisture that we had to rip all the drywall out. My first instinct was to lose that divider wall completely. When I knocked it down, it did make the room feel a lot bigger. There was more natural light without the big wall in the way. Unfortunately, losing the wall would have meant having to get a 90 degree shower curtain rod that would wrap around 2 sides of the tub and I would have sacrificed all the storage in the room.
In the end I decided to re-build the wall with way more support, then install a 12″ wide kitchen cabinet from Lowes and build custom shelving above it to fully utilize the small space.
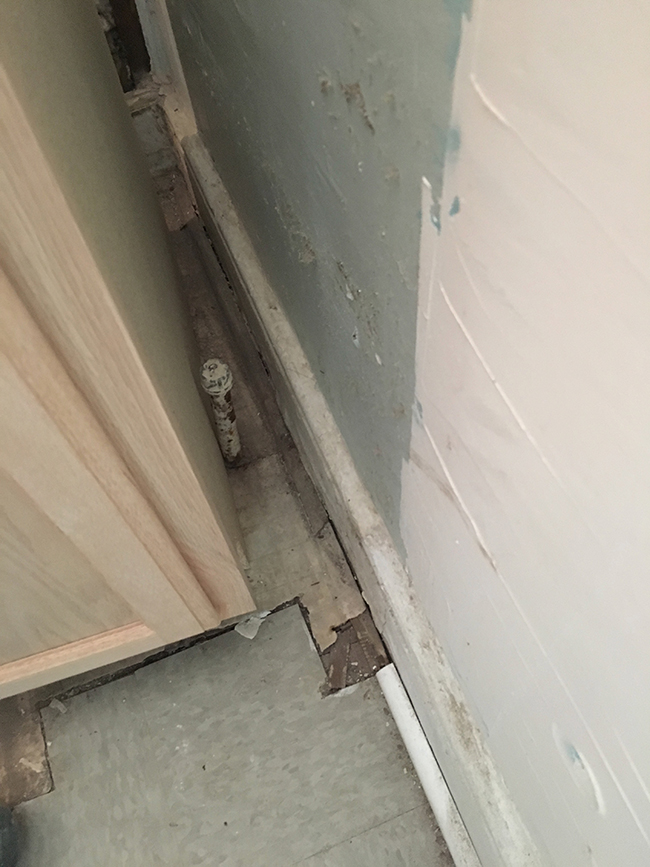
My lower cabinet wouldn’t fit in the nook because there was this annoying pipe coming up from the ground. My plumber said it was a gas pipe and suggested that we just cut it shorter and cap it off under the house. 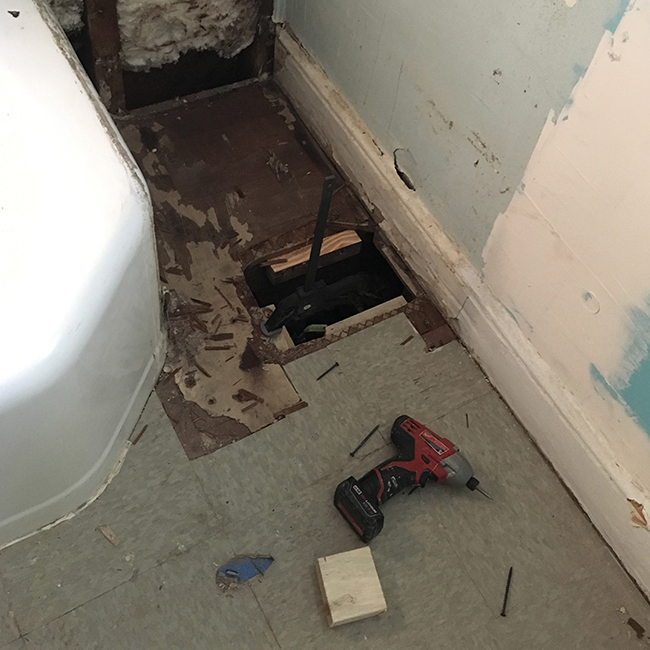 pin it!
And that’s how I wound up with a huge hole in the floor. We had to make the hole big enough for my plumber to fit his hands in there so he could cut and cap the pipe. Fortunately we didn’t have to make the floor patch pretty. We just secured some plywood over it and covered it up. 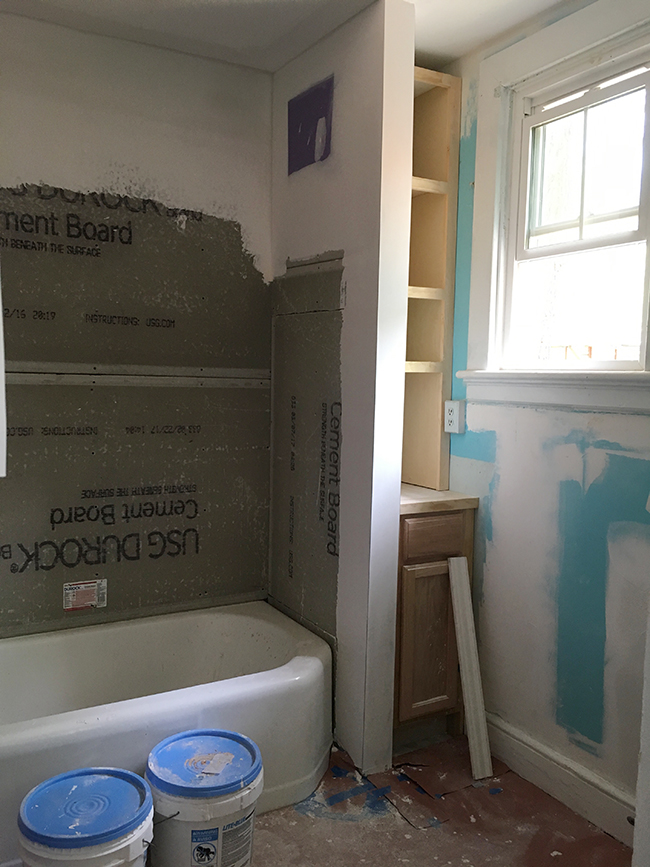 pin it!
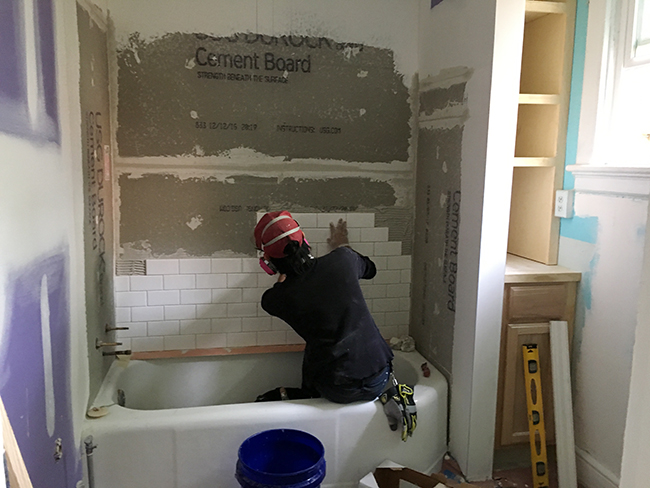
It’s safe to say that this turned into a complete bathroom overhaul, but because it’s a rental, I still wanted to keep my budget within reason. I chose to use simple white subway tile and I had my awesome art assistant Jef install them with me.
When the project was nearing completion, I was finally able to lay the new floor. I chose this amazing hexagon vinyl flooring. I saw this floor for the first time on one of the shows I art directed and I was impressed by how realistic and durable it was. It also has a subtle texture that’s so realistic that 3 of the vendors who came to my house thought it was natural stone at first. The old bathroom floor was 70s gray linoleum tiles, but they were in perfect condition, so I just laid the new hexagon flooring over it. I made a giant stencil out of paper to make sure that all the cuts would be perfect, then just plopped it down. This vinyl doesn’t even require any kind of adhesive! I did caulk the seam between the tub and the floor just in case.
I quite liked the rounded edge of the tub, but it created an awkward little corner that was super difficult to tile. I also learned that edge tiles are incrementally smaller than regular subway tiles. WHY would you do that to us, Dal Tile?! 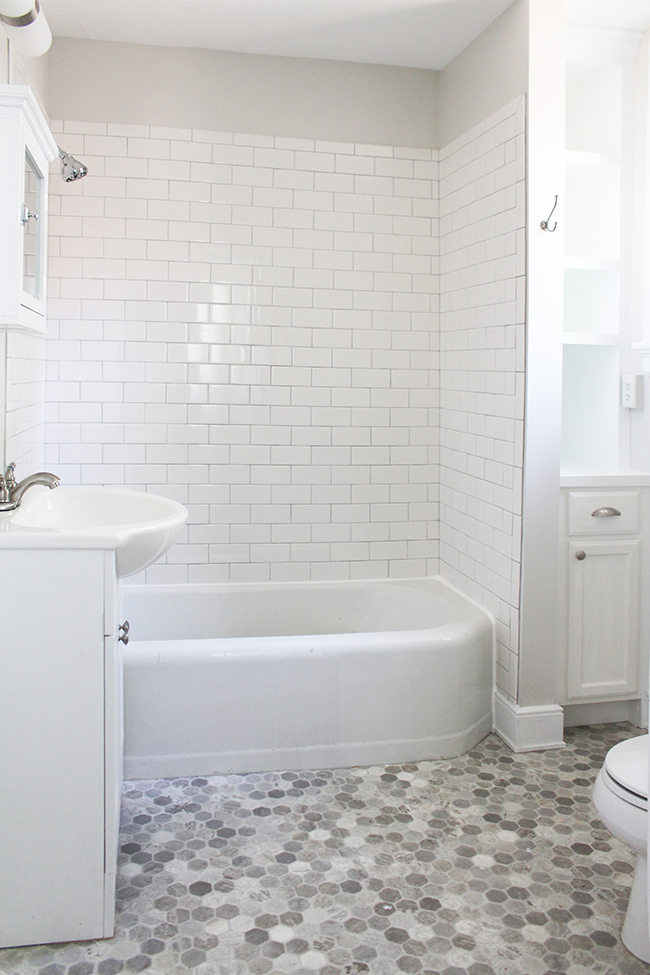 pin it!
It’s not a very big room, so I really just have this one photo that gives you the best idea of what it looks like to date — super simple, bright, and clean. Up next: the upstairs bathroom renovation!
