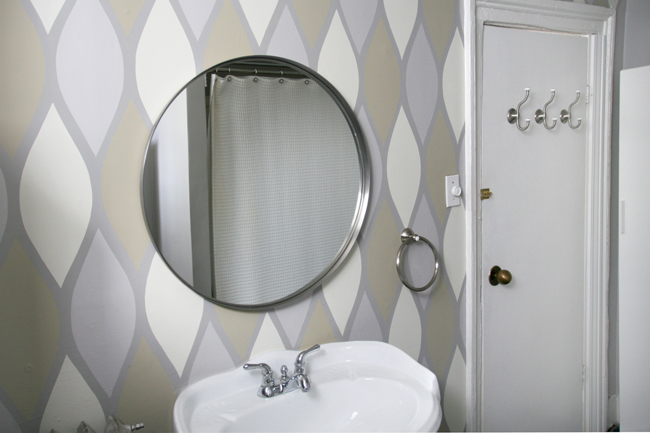
 pin it!I design mostly for reality TV, and reality sets are like rooms on steroids. Sometimes I get a little carried away in my own home and I try to pack a lot of “look” into not a lot of space and I wind up with something kind of cool, but also kind of scary. Remember the last time I lost my mind and painted my bathroom magenta with rainbow stripes? Or the ginormous drawing of Frida that looms over my living room. Yea… the winds of change (and hurricane Sandy) are blowing through my apartment.
I don’t know what it is about this bathroom. I have the hardest time deciding how I want it to look. It’s a good space. It’s big for NY standards, has fairly attractive fixtures, and a window that looks out to a tree. Unfortunately, it’s a little more run-down than you’d think from looking at these pics. The navy tiles are cracked in many places. The grout was crumbly and gray so I painted over it with dark blue nail polish (more on that some other day). The door trim is crooked and lumpy, and the baseboard is wood on one side and yellowing vinyl on the other. At least my tub is white…sparkling white now that i scrubbed it for the first time with a Mr. Clean magic eraser…OMG those things are amazing.
I have 2 methods for dealing with crusty rooms. First, if it can’t be luxe, make it memorable. And secondly, the smaller the room, the more obnoxious you can make it.
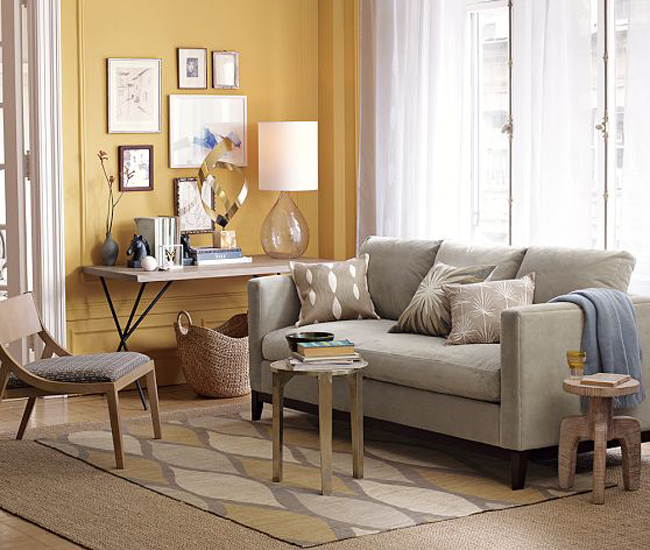 pin it!So one day I came across this image from a West Elm catalog featuring a rug designed by Allegra Hicks, whom I think it a fabulous textile designer. I wanted it SOO badly, but it was from a previous season and had since been discontinued. It was the perfect design in my mind. Geometric, but soft and organic. Warm and cool colors. Kind of modern, kind of traditional, kind of Moorish. LOVE.
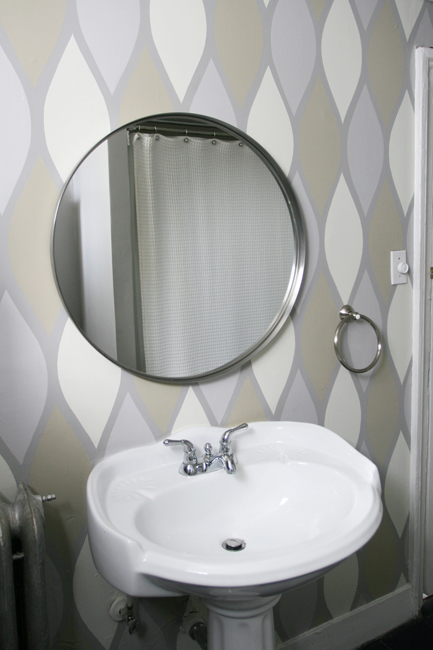
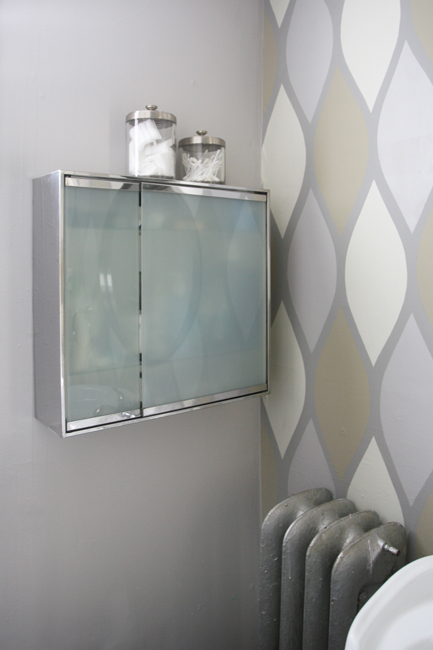
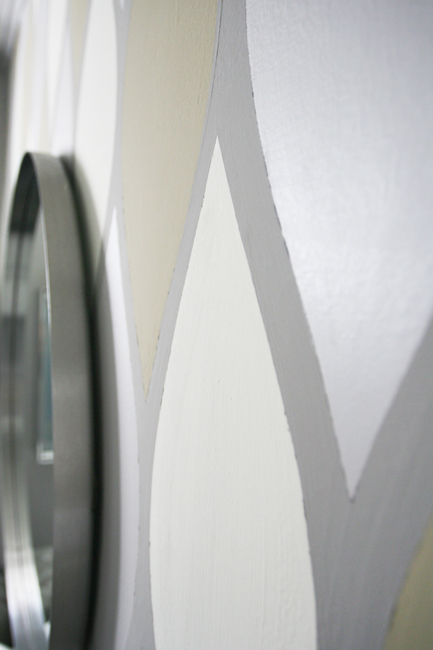
My roommate Katie is a licensed massage therapist (she’s awesome, email me if you want her info, you won’t regret it) and she was having clients come to the house for massage every now and then, so I thought it would be nice to paint the bathroom a soothing color reminiscent of a spa. So I painted it………GREY! Surprise. Jen Chu painted a room gray. The grey turned out to be little more purple than I expected it to be, so I thought this Allegra Hicks pattern might be able to break up all the grey-purple. So, $75 and 21 hours later…I have a pretty bathroom! Here’s how I did it:
 pin it!I used Behr Natural Gray UL260-11 for the base color on all of the walls (not pictured). My accent colors were Benjamin Moore Ashwood OC47, Cape May Cobblestone 1474,and Embassy green 1523.
 pin it!I used a french curve to make 1/4 of a leaf. Then I flipped it and traced it to make 1/2 of a leaf. Then I flipped it again to make 1 whole leaf. I cut it out of card stock so it would be rigid enough for me to trace 100 times, but flexible enough that I could bend it to get into corners. For this project, I also used a tape measure, spackle, sandpaper, scissors, ruler, pencil, level, contact paper, painters tape, and 3 different sized brushes.
Any imperfections will disrupt the pattern, and will probably result in paint leaking under the tape. Don’t be lazy. Just patch and sand and wipe the wall down with a damp towel. You’ll be glad you did it. If you want to be super legit, you should prime the patched parts because sometimes paint doesn’t adhere to spackle and if your project involves tape, it’ll rip the paint right off.
This part requires some basic math and I’m not going to crazy explaining it, but I can offer some pointers. The easiest way to do this is to make a grid with your measuring tape and level. Once the grid is down, the shapes will fall into place quickly. Use a pencil! It’s SOO hard to paint over pen.
This is the part that’s not necessarily intuitive. There are a few ways to do this, but I chose the way the required as little freehanding as possible. To freehand this pattern would take forever and frankly, would result in carpel tunnel. I suppose if you wanted it to have a more “hand painted” look, you could get away with it, but I’m a robot and I like things to look machine made. I painted each leaf quickly, slightly OUTSIDE the lines, making sure that the paint was relatively smooth. I did 2 coats for each leaf.
 pin it!…continued from the step before. This is me deciding if I want the 3rd leaf color to be the wall color, or the darkest gray. I went with the wall color and used the dark grey as “grout lines.”
In order to paint the dark gray “grout lines,” I had to cover each and every rough painted leaf with a more perfect sticky leaf. I bought a roll of contact paper and I used my stencil to trace 55 leaves, then I cut them all out. It didn’t take that long. Maybe 2 hours.
 pin it!I peeled and stuck all of my sticky leaves onto the wall, making sure to press the edges really firmly to flatten any gaps. I needed about twice the leaves that I had, so I just painted half of the grout lines first, then re-used the sticky leaves and did half of the wall after.
After your sticky leaves are firmly pressed, use the last color to paint in the grout lines. Do 2 coats. Then peel the stickers, do any touch ups, and you’re done! Easy! Ridiculously time consuming, but easy in theory :)
Did anyone notice that I installed a dimmer in my bathroom?! Probably not because only crazy people notice that stuff. But let me tell you, it’s the best. I spent hours swapping and replacing the light bulbs in my place for maximum illumination and mood options. That’s a post for another day…



I have always loved the combination of old and new(modern and traditional), warm and cold…but I was not sure if it could be achieved. Now you inspired and encouraged me.
Thanks for sharing the tips of how to, you made it so simple and easy for DIY.
We are friends of your Mom, whom i believe is your number 1 fan, and very proud of you. From her, we also have become your Fen Si(fans).
Jen! Your place always looks so great no matter what you do to it!
Are you coming back to the bay area anytime soon? Helen and I have been thinking of re-doing our place and could really use your expertise/advice! :)
I have had the hardest time looking for wall art. I might just order everything you ordered :)
Oh my! It looks amazing! Truly! I would never have thought to even attempt such a thing, let alone in a bathroom. But it’s got such wonderful balance – posh, but not too posh, girly but not too girly, and fresh but not too modern.
And PS. Two hours to cut stencils IS a long time.
Jennifer, you’re funny! 2 hours is a drop in a bucket for me. I consider any project that takes less than 30 hours a “quickie”! :)